- Acrylic-like strength with greater flexibility
- Allows for growth and flexing of natural nail underneath
- Reduces lifting caused by non-flexible products
- Can be applied to all 5 nails at once without worrying about product running into cuticle or side walls
One Component can be used as your Connector, builder, and top coat in one!
1. Once the nail has been properly prepped and cleansed, apply a thin, brush-on layer of One Component as your base coat. Cure 90 seconds LED/2 minutes UV.
2. Cleanse with Prep & Clean and finish with Renew & Repair Cuticle Oil.
3. Apply a bead of product to the centre of the nail and guide into place, allowing the product to self level into itself creating a smooth, even surface. Cure 90 seconds LED/2 minutes UV.
4. Cleanse with Prep & Clean and file and buff the nail into shape as needed. Cleanse fully again.
5. Once the Prep & Clean is dried completely, you can continue on with any gel polish or colour gel, or simply apply a thin layer of One Component over the entire nail to seal. Cure 90 seconds LED/2 minutes UV.
Can I sculpt extensions with One Component?
We don't recommend sculpting extensions with One Component. It was formulated to be a quick solution for fills or overlays.
Why is it curing dull or patchy?
This typically means it has been undercured. Make sure it's cured for a full 90 seconds LED before trying to wipe away the inhibition layer with Prep & Clean.
- Begin with a properly prepped and cleansed nail. [If using tips or forms, now would be the time to apply.]
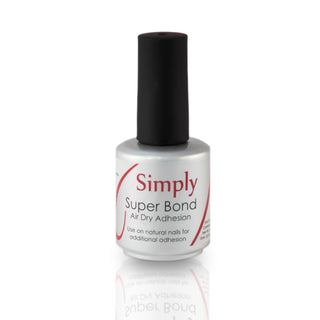
- [Optional Step] For extra adhesion, apply a thin layer of Super Bond to the nail and let air dry for 30 seconds.
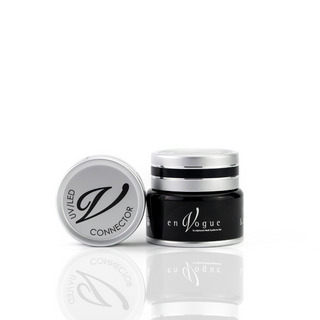
- Apply a thin layer of Connector or CBS Connect and cure for 60 seconds LED/2 minutes UV.
- With your favourite gel brush, place a bead of Premium Modeling Resin or Extender Resin in the centre of the nail and gently guide it into the desired length and shape. Remember, use product to move product. With Premium Modeling Resin you can repeat the process across all 5 fingers before curing. Cure for 60 seconds LED/2 minutes UV. Apply a second layer as needed.
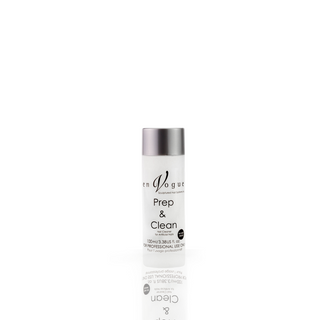
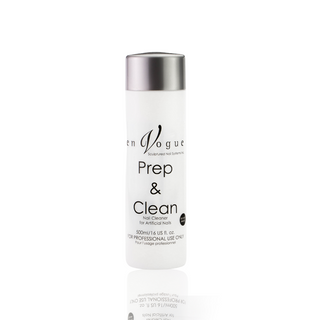
- Wipe the dispersion layer with Prep & Clean and a No-Lint Wipe and file/buff into shape as needed.
- Apply two coats of your favourite colour or for a natural finish, go ahead and apply your favourite top coat. Cure fully.
- Cleanse with Prep & Clean (if needed) and finish with Renew & Repair Cuticle Oil.

COMPLETE THE MANICURE
Añadir un producto a la cesta
- Acrylic-like strength with greater flexibility
- Allows for growth and flexing of natural nail underneath
- Reduces lifting caused by non-flexible products
- Can be applied to all 5 nails at once without worrying about product running into cuticle or side walls
One Component can be used as your Connector, builder, and top coat in one!
1. Once the nail has been properly prepped and cleansed, apply a thin, brush-on layer of One Component as your base coat. Cure 90 seconds LED/2 minutes UV.
2. Cleanse with Prep & Clean and finish with Renew & Repair Cuticle Oil.
3. Apply a bead of product to the centre of the nail and guide into place, allowing the product to self level into itself creating a smooth, even surface. Cure 90 seconds LED/2 minutes UV.
4. Cleanse with Prep & Clean and file and buff the nail into shape as needed. Cleanse fully again.
5. Once the Prep & Clean is dried completely, you can continue on with any gel polish or colour gel, or simply apply a thin layer of One Component over the entire nail to seal. Cure 90 seconds LED/2 minutes UV.
Can I sculpt extensions with One Component?
We don't recommend sculpting extensions with One Component. It was formulated to be a quick solution for fills or overlays.
Why is it curing dull or patchy?
This typically means it has been undercured. Make sure it's cured for a full 90 seconds LED before trying to wipe away the inhibition layer with Prep & Clean.
- Begin with a properly prepped and cleansed nail. [If using tips or forms, now would be the time to apply.]
- [Optional Step] For extra adhesion, apply a thin layer of Super Bond to the nail and let air dry for 30 seconds.
- Apply a thin layer of Connector or CBS Connect and cure for 60 seconds LED/2 minutes UV.
- With your favourite gel brush, place a bead of Premium Modeling Resin or Extender Resin in the centre of the nail and gently guide it into the desired length and shape. Remember, use product to move product. With Premium Modeling Resin you can repeat the process across all 5 fingers before curing. Cure for 60 seconds LED/2 minutes UV. Apply a second layer as needed.
- Wipe the dispersion layer with Prep & Clean and a No-Lint Wipe and file/buff into shape as needed.
- Apply two coats of your favourite colour or for a natural finish, go ahead and apply your favourite top coat. Cure fully.
- Cleanse with Prep & Clean (if needed) and finish with Renew & Repair Cuticle Oil.

![En Vogue Premium One Component [Pink] Pot](http://envoguenails.com/cdn/shop/files/Small-Pot_0068_bb1b686e-50b9-4647-808c-8e095334e0b5.jpg?v=1685554507&width=320)
![En Vogue Premium One Component [Pink] Pot](http://envoguenails.com/cdn/shop/files/Medium-Pot_0043_1.jpg?v=1685554507&width=320)
![En Vogue Premium Modeling Resin [Clear] Pot](http://envoguenails.com/cdn/shop/files/Small-Pot_0068.jpg?v=1685544802&width=320)
![En Vogue Premium Modeling Resin [Clear] Pot](http://envoguenails.com/cdn/shop/files/clearmodelingresin_1.jpg?v=1685624827&width=320)